
These mini monochrome OLED screens make great displays for projects — perfect for data readout, simple UIs or monochrome games.
| Requirements | |||
|---|---|---|---|
| Wemos D1 v2.2+ or good imitations. | amazon | ||
| 0.91in OLED Screen 128x32 pixels, I2c interface. | amazon | ||
| Breadboard Any size will do. | amazon | ||
| Wires Loose ends, or jumper leads. | |||
Setting up
MicroPython provides some built-in support for these displays, and a simple framebuffer which can be used as a drawing surface. However, we still need a driver to interface the buffer to the display.
There is a Python ssd1306 module for OLED displays available
in the MicroPython repository.
Click Raw format and save the file with a .py extension.
You can then use the ampy tool (or the WebREPL) to upload the file to your device's filesystem:
ampy --port /dev/tty.wchusbserial141120 put ssd1306.py
With the ssd1306.py file on your Wemos D1, you can import it as any other Python module. Connect to your device,
and then in the REPL enter:
from machine import I2C, Pin
import ssd1306
Both I2C and SPI-controlled displays are available — these instructions will only work for I2C displays.
If the import ssd1306 succeeds, the package is correctly uploaded and you're good to go.
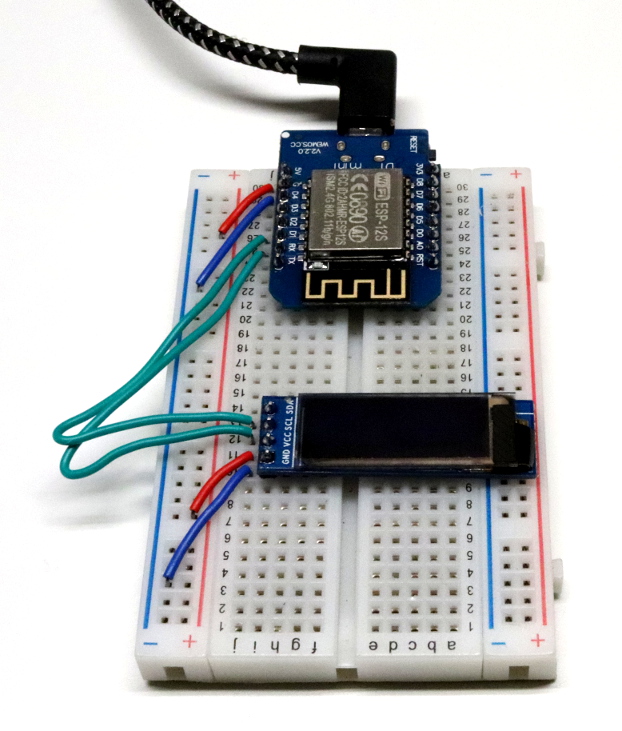
Wire up the OLED display, connecting pins D1 to SCL and D2 to SDA.
Provide power from G and 5V.
Using the interface
The following instructions are based on a 0.91in monochrome 128x32 OLED, but other displays using the same chipset can be used with this library.
To use the display you first need to create an I2C interface. In MicroPython I2C is via a software implementation so you can put it on any GPIO pins you like.
i2c = I2C(-1, Pin(5), Pin(4))
display = ssd1306.SSD1306_I2C(128, 32, i2c)
The SSD1306 module makes use of the MicroPython framebuf frame buffer, an efficient in-memory buffer for working with
a simple graphics view. The methods for drawing text and primitives are from this framebuffer implementation.
For a complete overview of what's available, check the MicroPython documentation.
The setup of the framebuffer format (monochrome, bit ordering, etc.) is also handled by the SSD1306 library. Check the framebuf documentation for more info on available options for other displays.
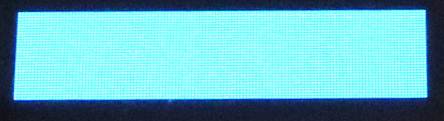
To test your I2C connection to the display, fill the display in solid colour.
display.fill(1)  # Fill the entire display with 1="on"
display.show()
You need to call display.show() to actually send the current framebuf to the device.

To support developers in [[ countryRegion ]] I give a [[ localizedDiscount[couponCode] ]]% discount on all books and courses.
[[ activeDiscount.description ]] I'm giving a [[ activeDiscount.discount ]]% discount on all books and courses.
Drawing primitives
The .fill() method can be used to fill the entire display with a specified colour.
Note that this changes all pixels to the given colour, and does not perform a flood
fill of matching regions.
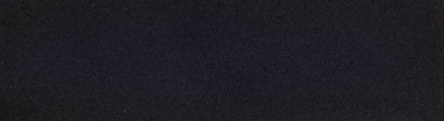
# Fill the entire display with colour 0
display.fill(0)
For filling specific regions of the display see .fill_rect() below.
Setting individual pixels can be accomplished using .pixel(). This is only a good idea
when you area setting relatively few pixels as it is much slower than using other methods.
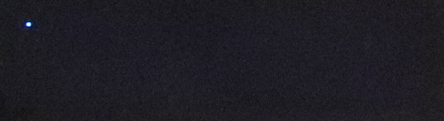
# Set the pixel at 3, 4 (x, y) to 1
# .pixel(x, y, c)
display.pixel(3, 4, 1)  # 3rd param is the colour
display.show()
If you don't provide a color via parameter c, this method returns the colour of the pixel at the specified coordinates.
# Return the value at 3, 4 (x, y)
# .pixel(x, y)
c = display.pixel(3, 4)
This is not a particularly nice API. In other cases (e.g. text) omitting
the optional c will use 1 as a default.
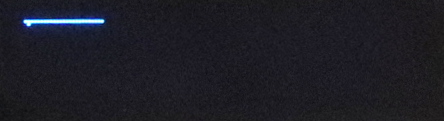
Horizontal and vertical lines can be drawn with .hline() and .vline()
respectively, providing a starting x,y location and line length and colour.
# Draw a horizontal line, starting from 2, 3 (x, y), 4 pixels wide
# .hline(x, y, w, c)
display.hline(2, 3, 25, 1)
display.show()
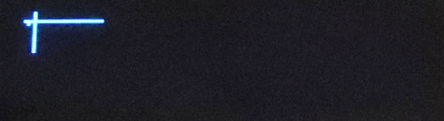
# Draw a vertical line, starting from 5, 0 (x, y), 6 pixels high
# .vline(x, y, h, c)
display.vline(5, 0, 15, 1)
display.show()
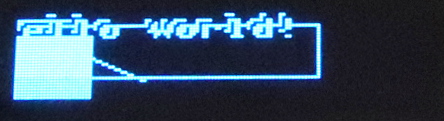
For diagonal lines, the .line() method can be used to draw lines
between between two sets of points x1,y1 and x2,y2 specified in order.
The parameter c controls the colour of the line drawn.
# Draw a short diagonal line down to the right.
# .line(x1, y1, x2, y2, c)
display.line(0, 0, 50, 25, 1)
display.show()
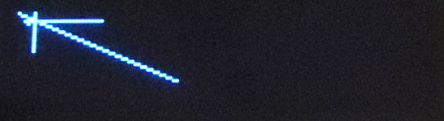
There is no antialiasing, so diagonal lines will probably look pretty jaggy.
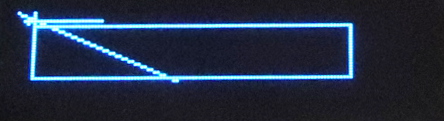
The .draw_rect() method allows you to draw a unfilled rectangle, starting at x,y and
with a specified width w and height h. The specified colour c is used to draw
the boundary of the rectangle, but it is not filled.
# Draw an unfilled rectangle of 8, 5 pixels, starting at 1,1 in colour 1.
# .rect(x, y, w, h, c)
display.rect(5, 5, 100, 20, 1)
display.show()
You can also draw filled rectangles, using .fill_rect(). The parameters are the same
as for .rect() but all pixels within the boundary will be set.
# Draw a filled rectangle of 10x5 pixels, starting at 3,3 in colour 1
# .fill_rect(x, y, w, h, c)
display.fill_rect(9, 9, 25, 25, 1)
display.show()
Writing text
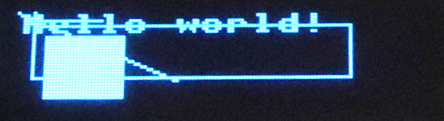
The framebuffer class provides support for writing text using a simple 8x8 bitmap font. The pixel x,y positions are relative to the top-left of the 8x8 character, so positioning at 0,0 will give the absolute top left of the screen.
# Print "Hello world!" 1 pixel from top left, in colour 1 (on)
# .text(text, x, y, c)
display.text("Hello world!", 1, 1, 1)
display.show()
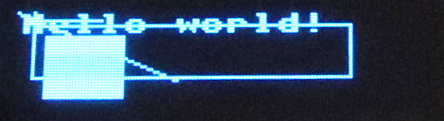
The .text() method takes an optional 4th parameter color, which gives the colour to draw text in. On
a mono screen this can be either 0 (off) or 1 (on).
# Print "Hello world!" at 2,2 in colour 0 (off)
display.text("Hello world!", 2, 2, 0)
display.show()
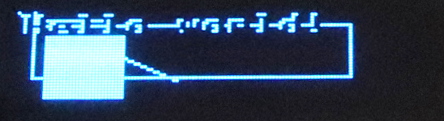
# Print "Hello world!" at 3,3 in colour 1 (on)
display.text("Hello world!", 3, 3, 1)
display.show()
Scrolling
You can shift the contents of the entire framebuffer around using .scroll, which takes x and y parameters to specify
the scroll (positive/negative) in each dimension.
# .scroll(x, y)
display.scroll(-10, 0)
There is no support for scrolling a portion of the framebuffer. You can however keep a separate framebuffer which you scroll and then blit to your main display — see the next section.
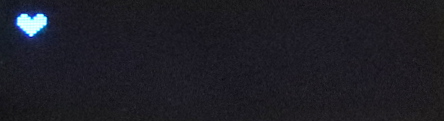
Pixel graphics
For very simple graphics that do not update often you can get away with writing bitmap graphics to the framebuffer pixel by pixel. For example, in the following code block we draw an icon from a list-of-lists of binary colour data, iterating over with simple loops:
ICON = [
    [ 0, 0, 0, 0, 0, 0, 0, 0, 0],
    [ 0, 1, 1, 0, 0, 0, 1, 1, 0],
    [ 1, 1, 1, 1, 0, 1, 1, 1, 1],
    [ 1, 1, 1, 1, 1, 1, 1, 1, 1],
    [ 1, 1, 1, 1, 1, 1, 1, 1, 1],
    [ 0, 1, 1, 1, 1, 1, 1, 1, 0],
    [ 0, 0, 1, 1, 1, 1, 1, 0, 0],
    [ 0, 0, 0, 1, 1, 1, 0, 0, 0],
    [ 0, 0, 0, 0, 1, 0, 0, 0, 0],
]

display.fill(0) # Clear the display
for y, row in enumerate(ICON):
    for x, c in enumerate(row):
        display.pixel(x, y, c)

display.show()
Using urandom we can scatter images over the display, like in the following example:
import urandom

def random_heart():
    xofs = urandom.getrandbits(8)
    yofs = urandom.getrandbits(5)
    for y, row in enumerate(ICON):
        for x, c in enumerate(row):
            display.pixel(x + xofs, y + yofs, c)

for n in range(100):
    random_heart()

display.show()
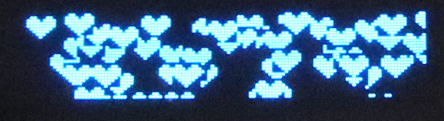
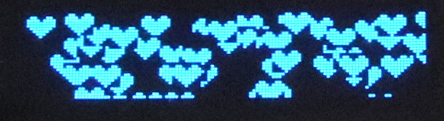
If you can add an if c around the display.pixel call to only output
pixels which are on — effectively masking, and avoiding the black square.
For bigger graphics or where you need faster updates, you can instead blit your bitmap images from one framebuffer
to another. Pass the framebuf to blit, and the coordinates x and y to blit at.
# Blit a framebuffer at the pixel position 1, 1.
# display.blit(fbuf, x, y)
display.blit(fbuf, 1, 1)
The blit method takes an optional 4th parameter key which is a colour to
considered 'transparent' when blitting. Pixels with this value won't be copied over
onto the target display.
# Blit except pixels with value 0 (i.e. only pixels with value 1)
# .blit(fbuf, x, y, key)
display.blit(fbuf, 1, 1, key=0)
See this follow up for details on how to display images on OLED screens, including animated graphics.
PyQt/PySide 1:1 Coaching with Martin Fitzpatrick — Get one on one help with your Python GUI projects. Working together with you I'll identify issues and suggest fixes, from bugs and usability to architecture and maintainability.
Display control
The drawing methods so far are inherited from the the MicroPython framebuf
object, which is written to the display on .update(). But the ssd1306 object itself
also provides methods for direct control of the display component.
The display can be turned on and off using display.poweron()
and display.poweroff() respectively.
You can set the contrast for the display using .contrast() passing in parameter
c which is a value between 0 and 255. This controls the contrast between
the foreground, active colour 1 and the background 0.
# Set the display contrast to half (127/255 = 0.5)
# .contrast(c)
display.contrast(50)
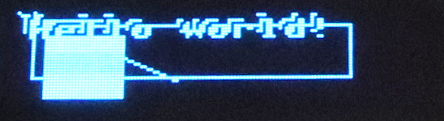
To invert the display, switching foreground and background colours, call .invert(1).
display.invert(1)

Calling .invert(0) will return the display to how it was originally. You can
use this for display-flashing visual effects:
import time
while True:
    display.invert(0)
    time.sleep(0.01)
    display.invert(1)
    time.sleep(0.01)